


Hi there. If you are as big of a nerd as I am, you have thought, “what if I just made my own planner EXACTLY how I want it?!”
Do it! I did it, and so far I am loving it so much. I will break down how I made my own planner and a look at all the spread I included in my DIY Planner.
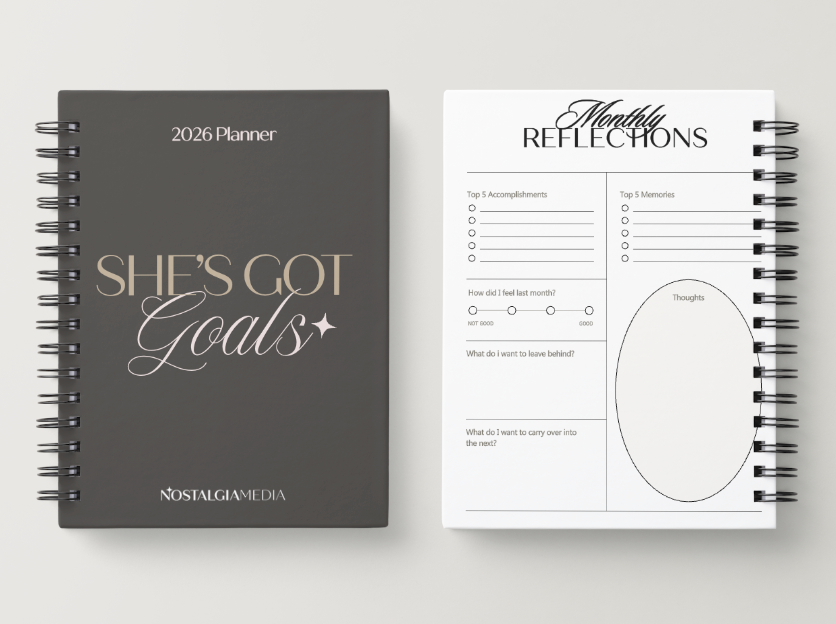
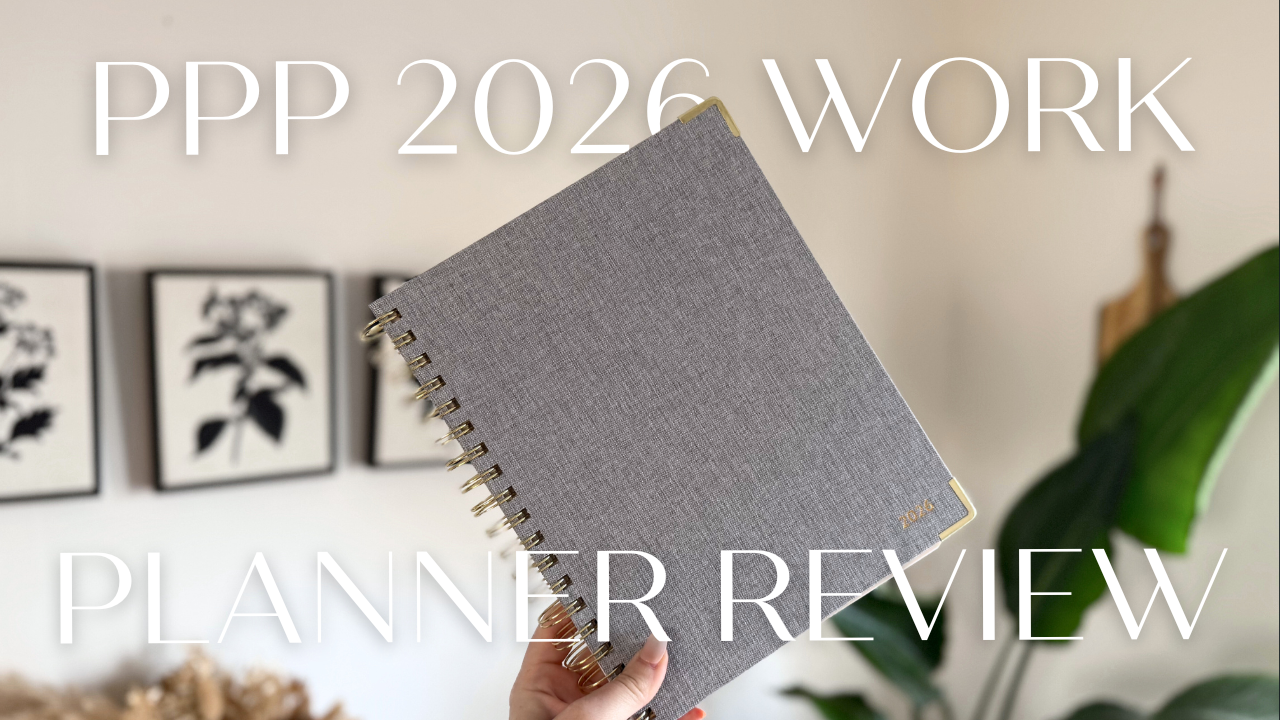
Last month, I bought a Penny Pincher Business Planner and it is VERY good quality. They also had a monthly checklist in the front that I LOVE. However, their daily layouts were time slotted, and with a little baby, it’s hard for me to plan my days like that.
I wanted more freedom in my planner. I need more blank notes pages for client meetings and random thoughts/ideas.
How To Make Your Own DIY Planner
Making your own planner is very simple, but takes a little time. And it is about the same cost wise as buying someone else’s. However, I would say it’s as nice as probably some planners are. It doesn’t have a hard cover or tabbed months (which I prefer).
But, choose your battles. Want the perfect inside or outside… I choose inside!
- Make your planner outline in CANVA
- I have a pro account, so it made it easier to choose already made planner pages when nessary, but if you only have a free account, you should still be able to make one. It just may take longer if you are needing to start every page from scratch.
- I suggest making it in black and white to reduce the end cost. BUT, if cost doesn’t matter put rainbows everywhere!! 🙂
- Create a new design.
- Choose the size you want. I chose to do 8.5×11 inches.
- Then in the design tab to the left, search for pages you want to include to streamline the process and give you starting places. If not, create each page from scratch!
- Download and Print it at your nearest print retailer.
- You can print it on CANVA, but I decided to use Office Max. They have a spiral bound option with a clear front cover that works great. The page quality is nice and I was able to do same day pick up!
- I do suggest printing your design in black and white to GREATLY reduce the cost. In color the planner would have been over $100, but in black and white, it was around $30.
What Do I Put in My DIY Planner?
When it comes to what you put in your planner, think about what you DON’T use or want in other planners. For me, I needed minimal goal setting and more task oriented checklists. I wanted lots of notes pages, and less weekly/daily breakdowns. So, really, you put what you want in it. Here what I put:
Pages I put in my DIY Planner:
- Vision and Goals for 2026
- Business Section
- Monthly Task Checklist
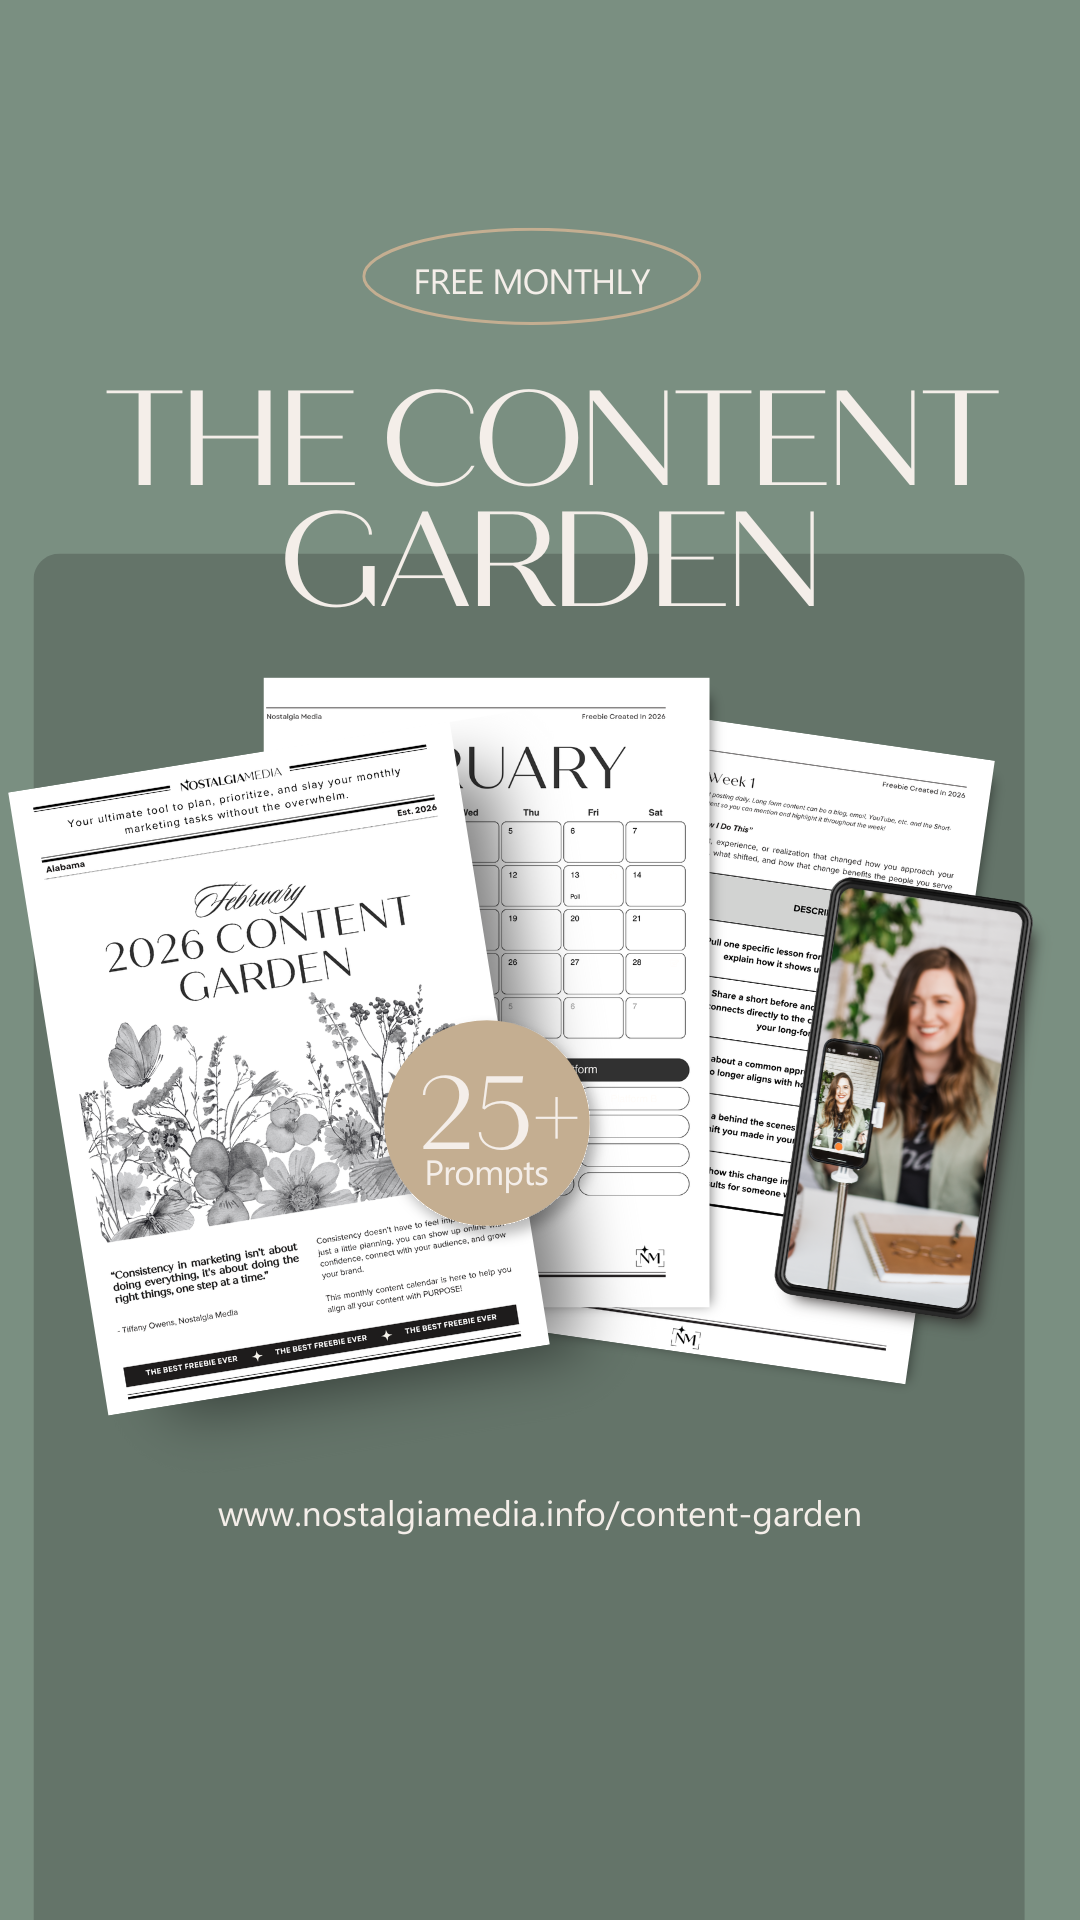
- My content creation cheat sheet: https://nostalgiamedia.info/cheatsheet
- Competitor Analysis
- My Social Analysis framework pages
- Yearly Marketing Calendar
- My ideal Month & week overview
- Home Section
- Annual finance tracker
- Bill Tracker
- Cleaning Tracker
- Weekly Grocery lists
- Garden Schedule
- Year in Pixels
- Planner
- Broken up by Quarters
- Quarterly Goal Planning
- Monthly View
- Monthly plan overview
- 10 pages of notes
- Then repeat for each month
- Broken up by Quarters
Creating Your Own DIY Planner
That is a simple look at how I created my own 2026 planner and what I put in my DIY planner! I would love to hear your feedback and if you plan to create your own DIY planner for this year. Leave me a comment and let me know what you plan to put in it.


")


Comments +